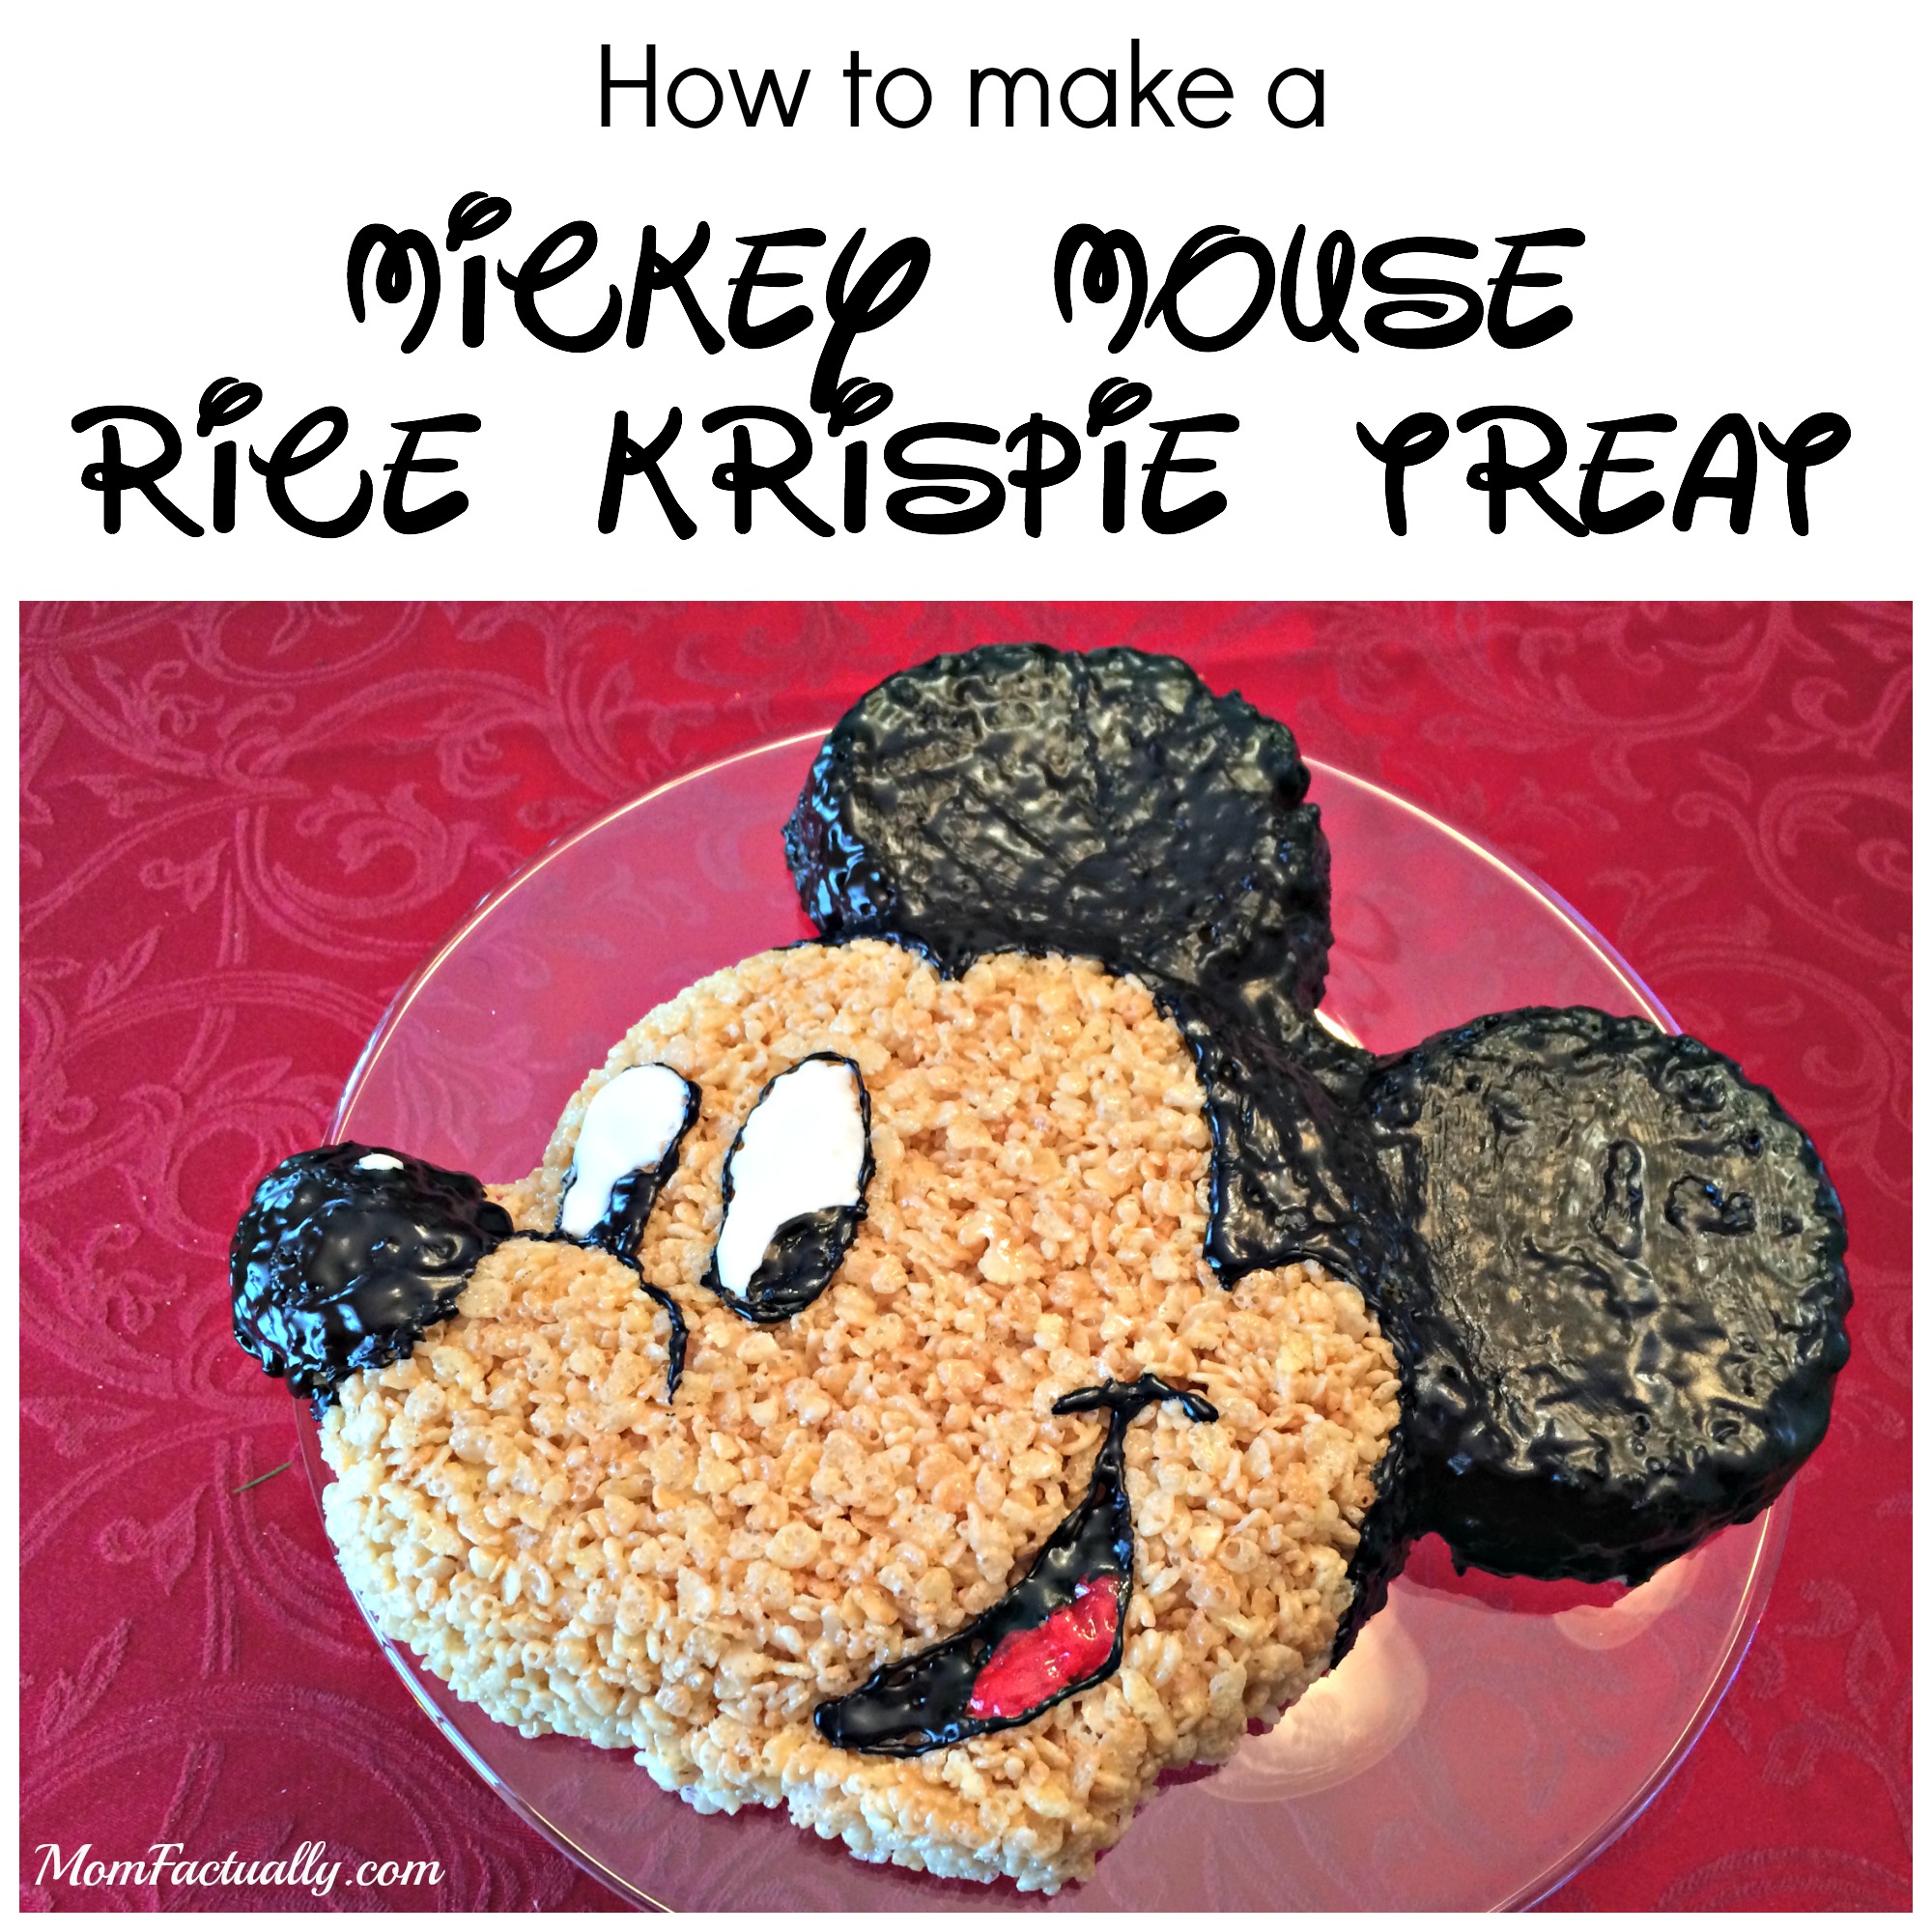
We had a great time at our #DisneySide @Home Celebration party, which I detailed in this post. I’ve been getting a few questions about how I made this Mickey Mouse rice krisipie treat.
 KI received free products in order to host the party, but the opinions expressed here are my own. One of those products is the key to the amazing Mickey. It’s the Wilton Mickey Mouse Clubhouse Cake Pan we received.
 Party hosts received box full of fun, free items to help with the party, including a Mickey Mouse cake pan from Wilton. You can get it on Amazon here.
Actual cake decorating, however, is way outside my skill set. (I’ve always been sad that law school didn’t also include more life-skill classes because I suspect I would use those a whole lot more than I use my knowledge of torts, but that’s a blog for another day.) I also wanted to have a gluten-free dessert option for guest, so doing a rice krispie treat fit the bill and it was the right color for Mickey’s face, meaning less icing fuss. That was a win-win!
Rice Krispie Treat Recipe
Ingredients
- 3 tablespoons butter or margarine
- 1 package (10 oz., about 40) JET-PUFFED Marshmallows
- OR
- 4 cups JET-PUFFED Miniature Marshmallows
- 6 cups Puffed Rice cereal (gluten free if you like)
Directions
1. In large saucepan melt butter over low heat. Add marshmallows and stir until completely melted. Remove from heat.
2. Add cereal. Stir until well coated.
3. Press mixture into pan evenly. (I suggest spraying
Mom Fact: you actually do have to follow the recipe and yes, it is possible to screw it up. I don’t know how, but everything up ended in the pot at once and trust, me that doesn’t work, especially when you need Mickey’s face to be an even tone and not look like he’s had an awful chemical peel. Thankfully, attempt number two was more successful.
I made the rice krisipe treat the day before our party and wrapped it tightly to keep over night. I decorated him the day of our party using
Betty Crocker Cookie Icing. I had never used it before, but the promise on the package that it sets quickly won me over.First, I did the lines in icing and let it set. Then I went back and filled in, similar to coloring a picture.
The cookie icing worked perfectly. It dried quickly and did set to be relatively hard, which kept it from getting smeared all over my house and also from oozing off of Mickey. I did appreciate that it didn’t set instantly, meaning that I had time to fix mistakes. If you’re not an icing pro, it helps to have a damp washcloth or wet paper towel at hand to wipe off any errant icing.
Hang on to the picture in the pan for reference. (Or, get all eager about washing your pan, toss the picture away and then dig through the trash to find it. That’s another option, but not one that I recommend.) If you press the rice krispies in firmly enough, you could have the lines on the treat and you can just follow those with icing. If they aren’t clear, though, the picture will give you enough to go on.
The only minor issue I had was with one of Mickey’s eyes. It’s on an angle, and the icing did want to run. (See above reference to handy access to damp washcloth or paper towel.) Use a scant amount of icing there and allow the whites of his eyes to set prior to adding the black for the outline and his pupils.
I used an icing knife to spread the icing and it worked well. Give it some time to settle into the nooks and crannies of the rice krispie treat and allow some time to go over and fill in some holes.
Disclosure: I received free products in order to host a Disney Side @Home Celebration. The opinions expressed here are my own. Also, this post contains affiliate links.
You may also like: Spicy lentil soup recipe and a story about lasting friendships
Prior post: How we pieced together our Disney villains party #DisneySide
Don’t miss a post! Please subscribe to Mom Factually’s completely safe, spam-free email list in the box in the top right corner of the page!
Please like Mom Factually on Facebook. You can also find Mom Factually on Pinterest, Twitter, and Instagram.

 KI received free products in order to host the party, but the opinions expressed here are my own. One of those products is the key to the amazing Mickey. It’s the Wilton Mickey Mouse Clubhouse Cake Pan we received.
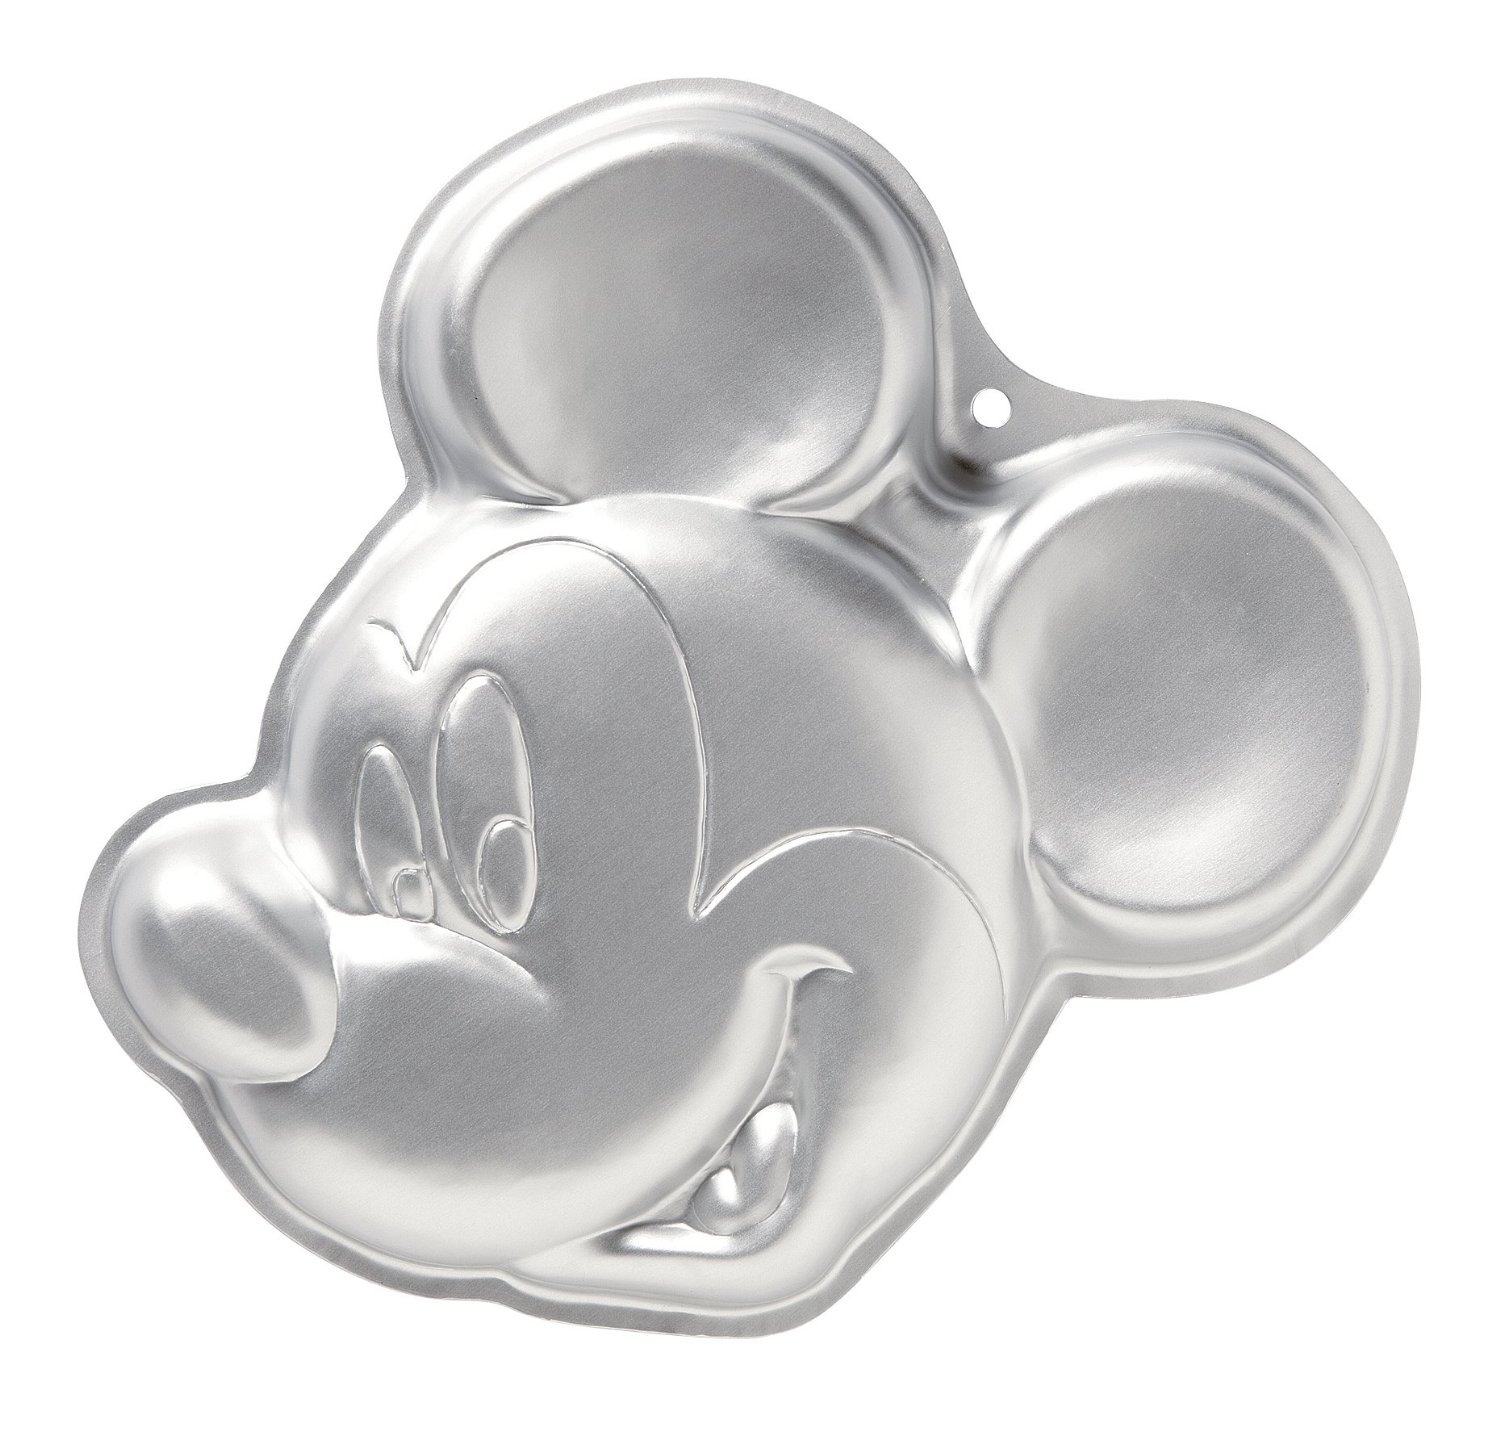 Party hosts received box full of fun, free items to help with the party, including a Mickey Mouse cake pan from Wilton. You can get it on Amazon here.